 viewfile.jpg
(224.33 KB, 下载次数: 1)
 viewfile.jpg
(224.33 KB, 下载次数: 1)
 viewfile(1).jpg
(218.88 KB, 下载次数: 0)
 viewfile(2).jpg
(171.88 KB, 下载次数: 0)
 viewfile(3).jpg
(187.44 KB, 下载次数: 0)
 viewfile(4).jpg
(199.75 KB, 下载次数: 0)
 viewfile(5).jpg
(169.03 KB, 下载次数: 0)
 viewfile(6).jpg
(165.84 KB, 下载次数: 0)
 viewfile(7).jpg
(197.25 KB, 下载次数: 0)
 viewfile(8).jpg
(57.53 KB, 下载次数: 0)
 图片附件: viewfile(1).jpg (2009-7-13 14:59:17, 218.88 KB) / 下载次数 0
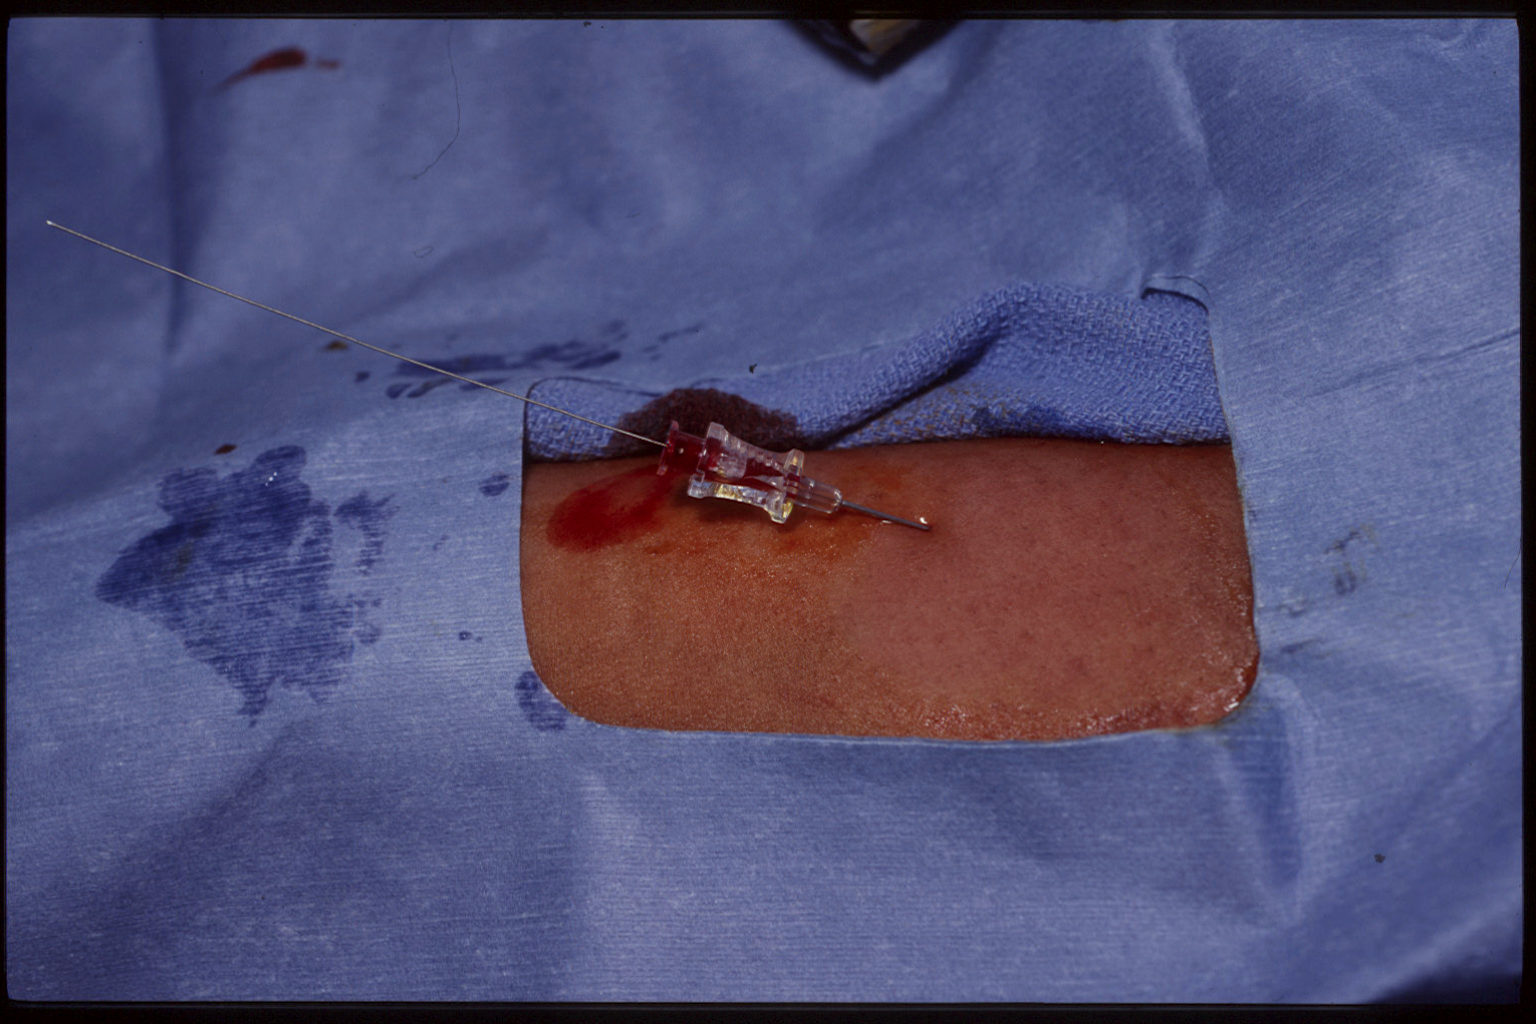
 图片附件: viewfile(2).jpg (2009-7-13 14:59:17, 171.88 KB) / 下载次数 0
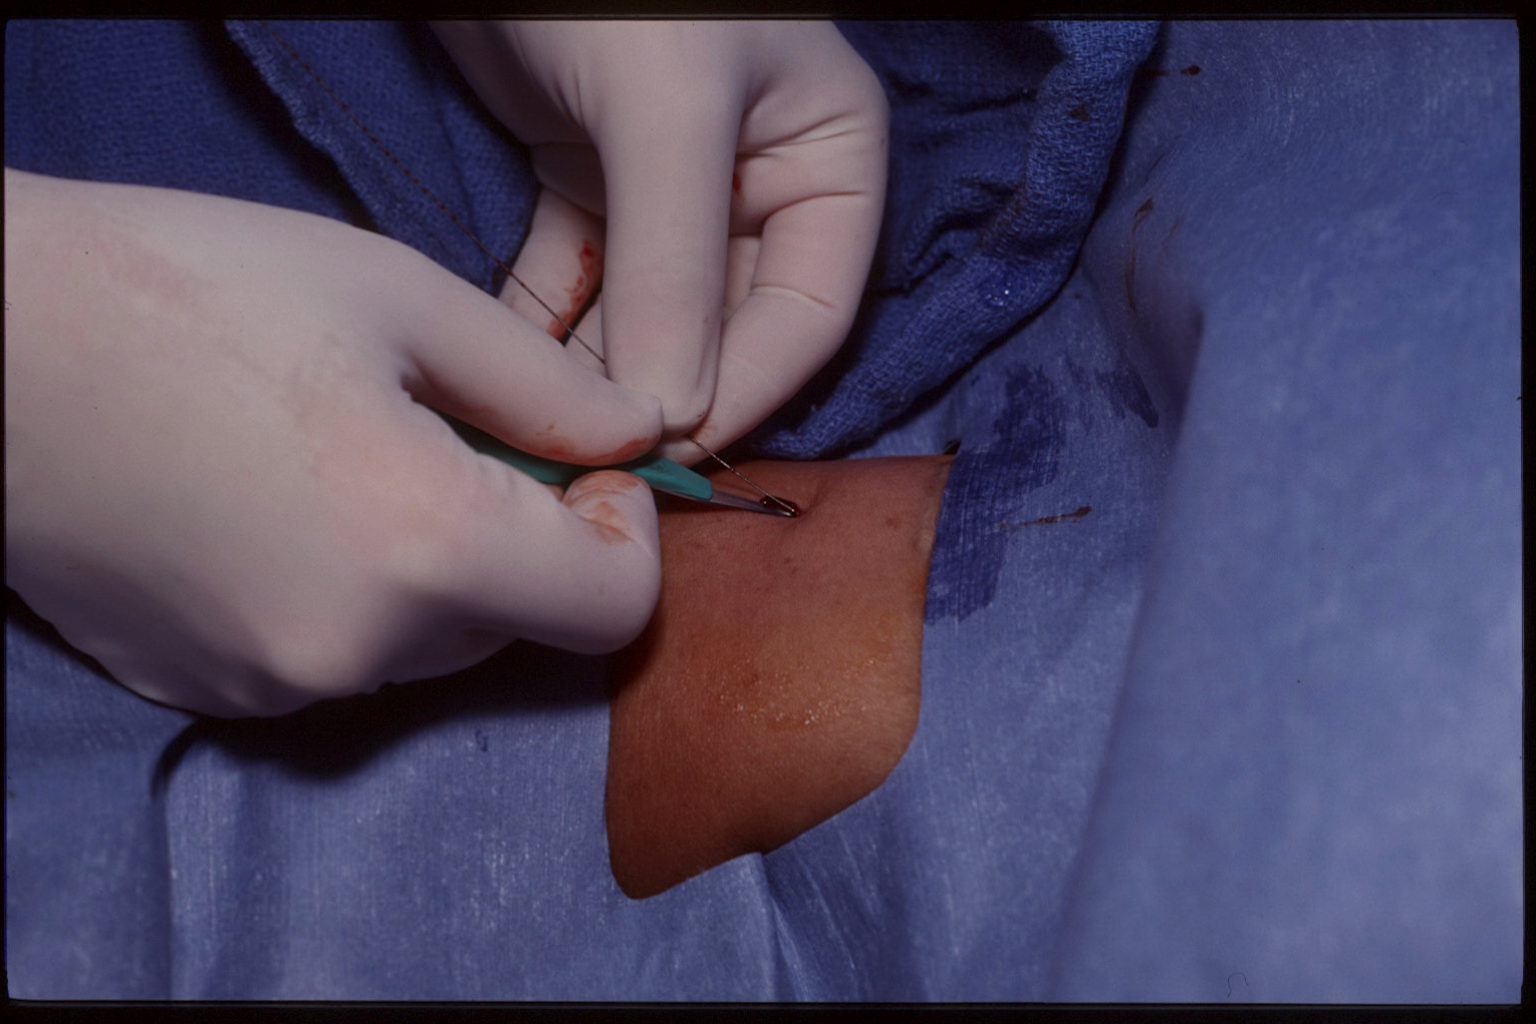
 图片附件: viewfile(3).jpg (2009-7-13 14:59:17, 187.44 KB) / 下载次数 0
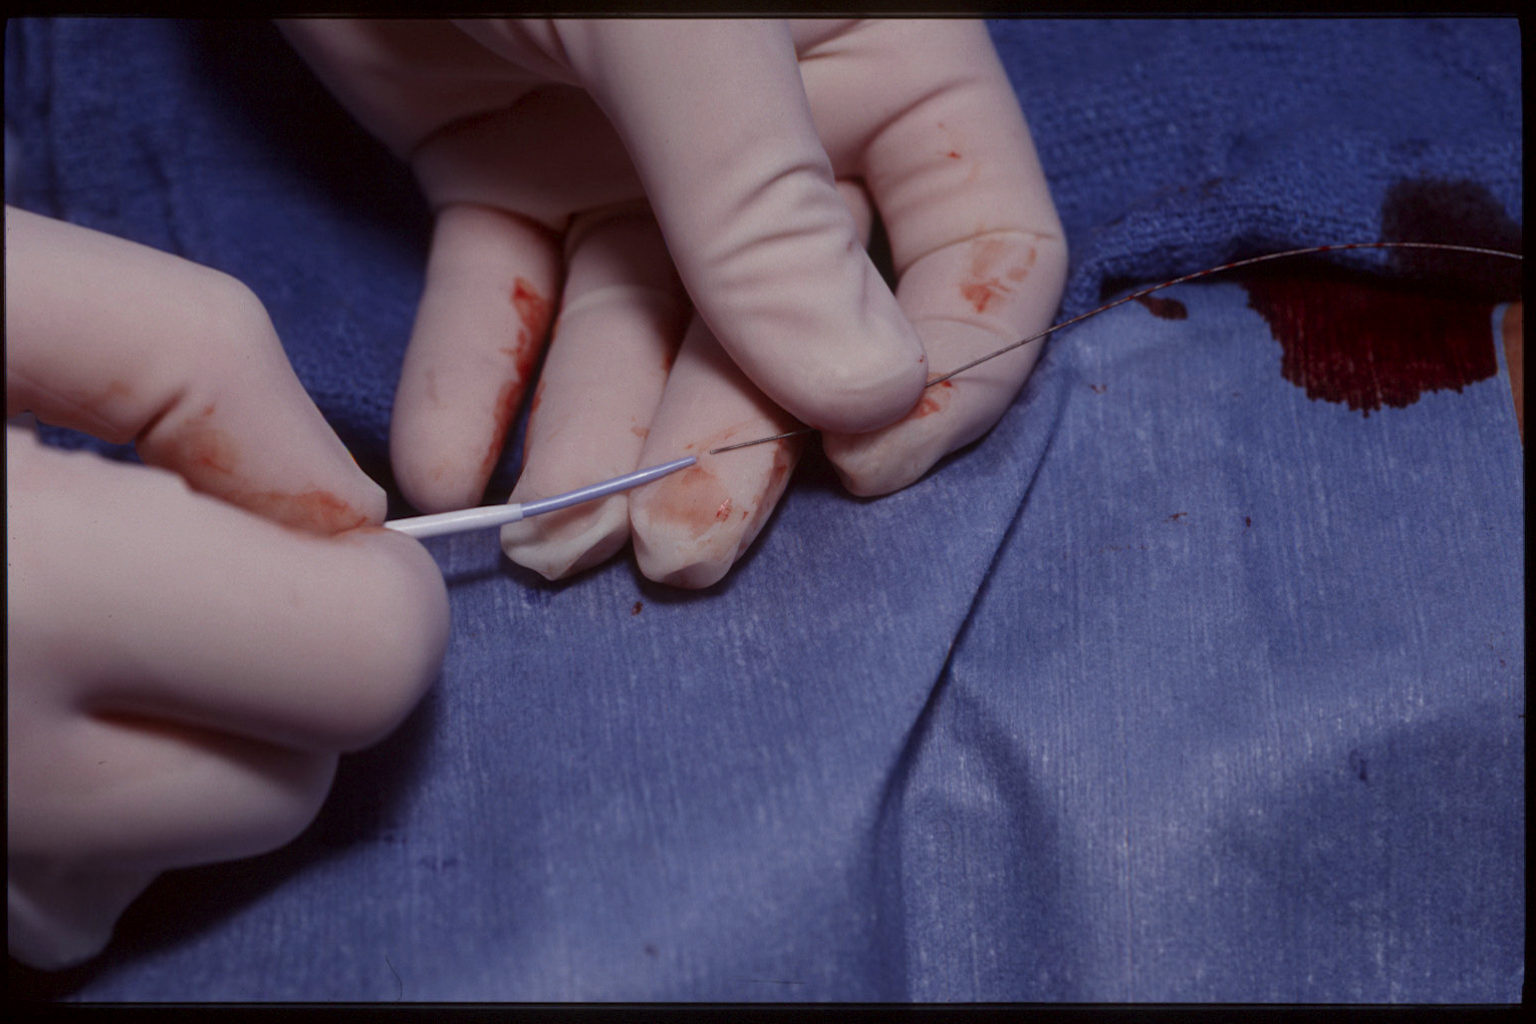
 图片附件: viewfile(4).jpg (2009-7-13 14:59:17, 199.75 KB) / 下载次数 0
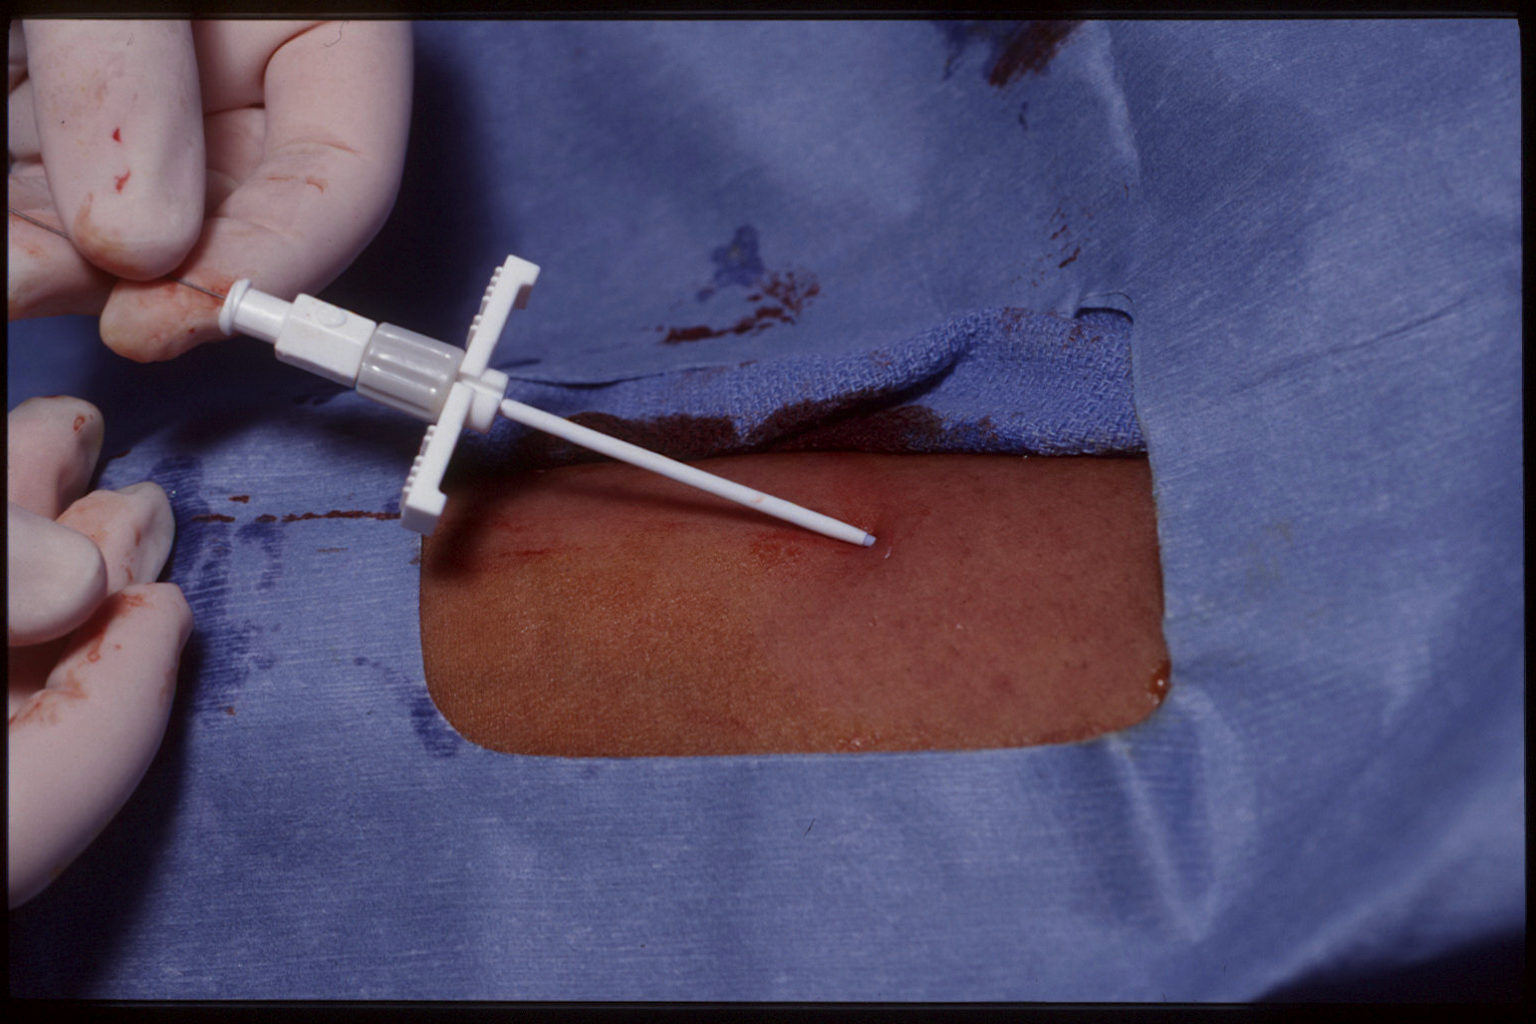
 图片附件: viewfile(5).jpg (2009-7-13 14:59:17, 169.03 KB) / 下载次数 0
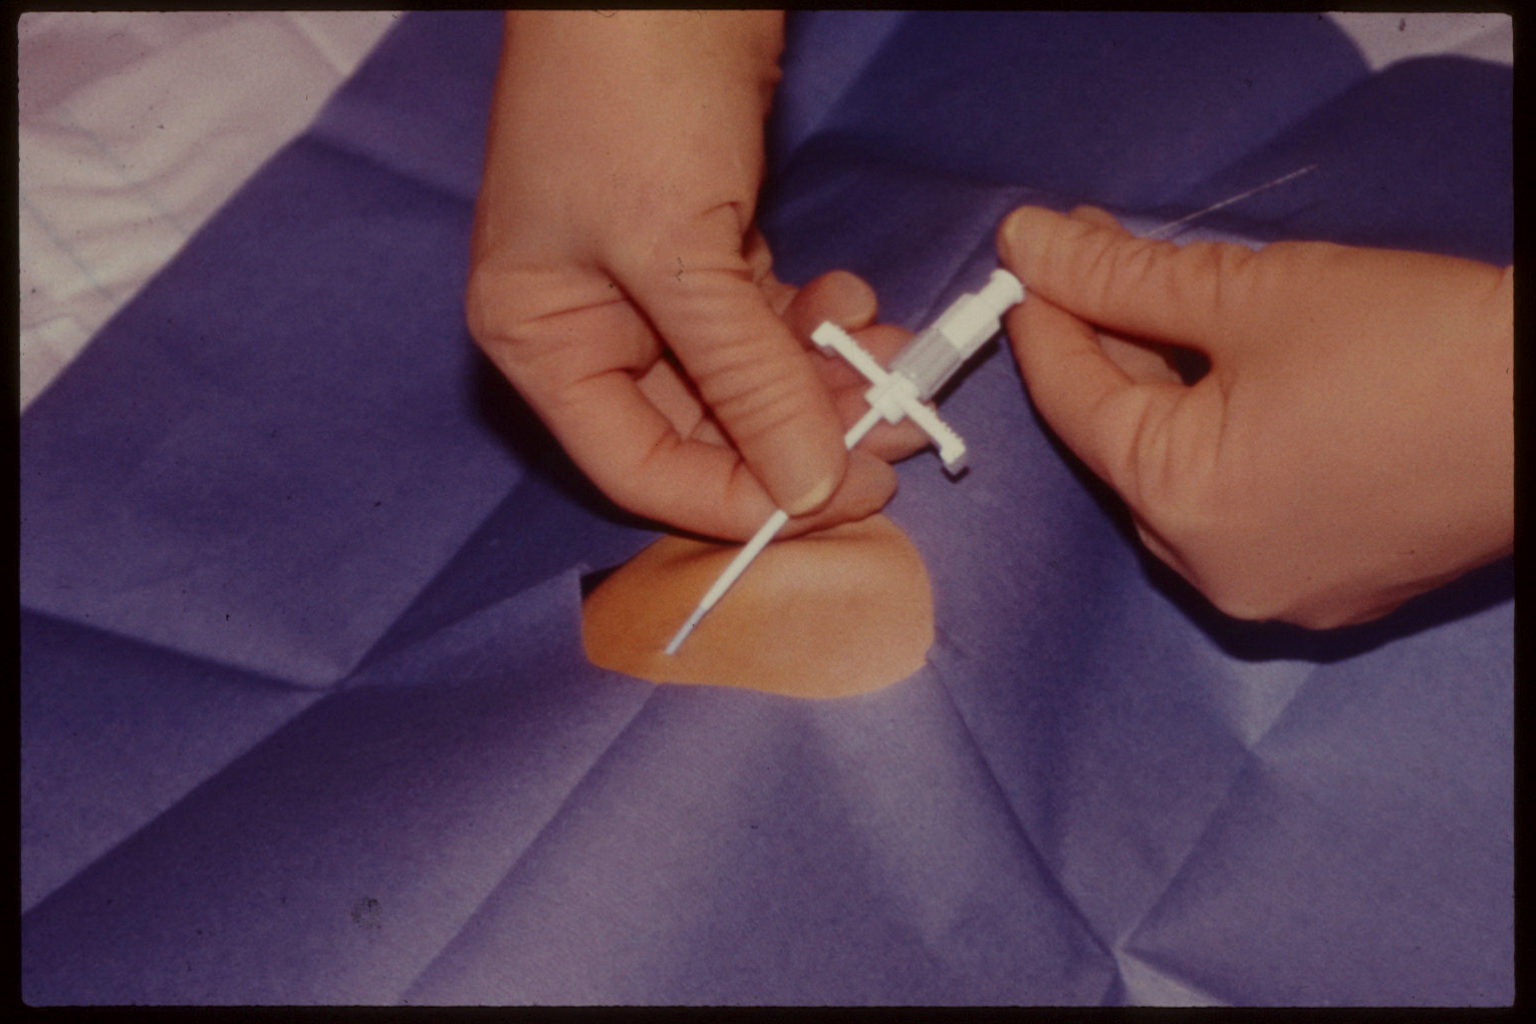
 图片附件: viewfile(6).jpg (2009-7-13 14:59:17, 165.84 KB) / 下载次数 0
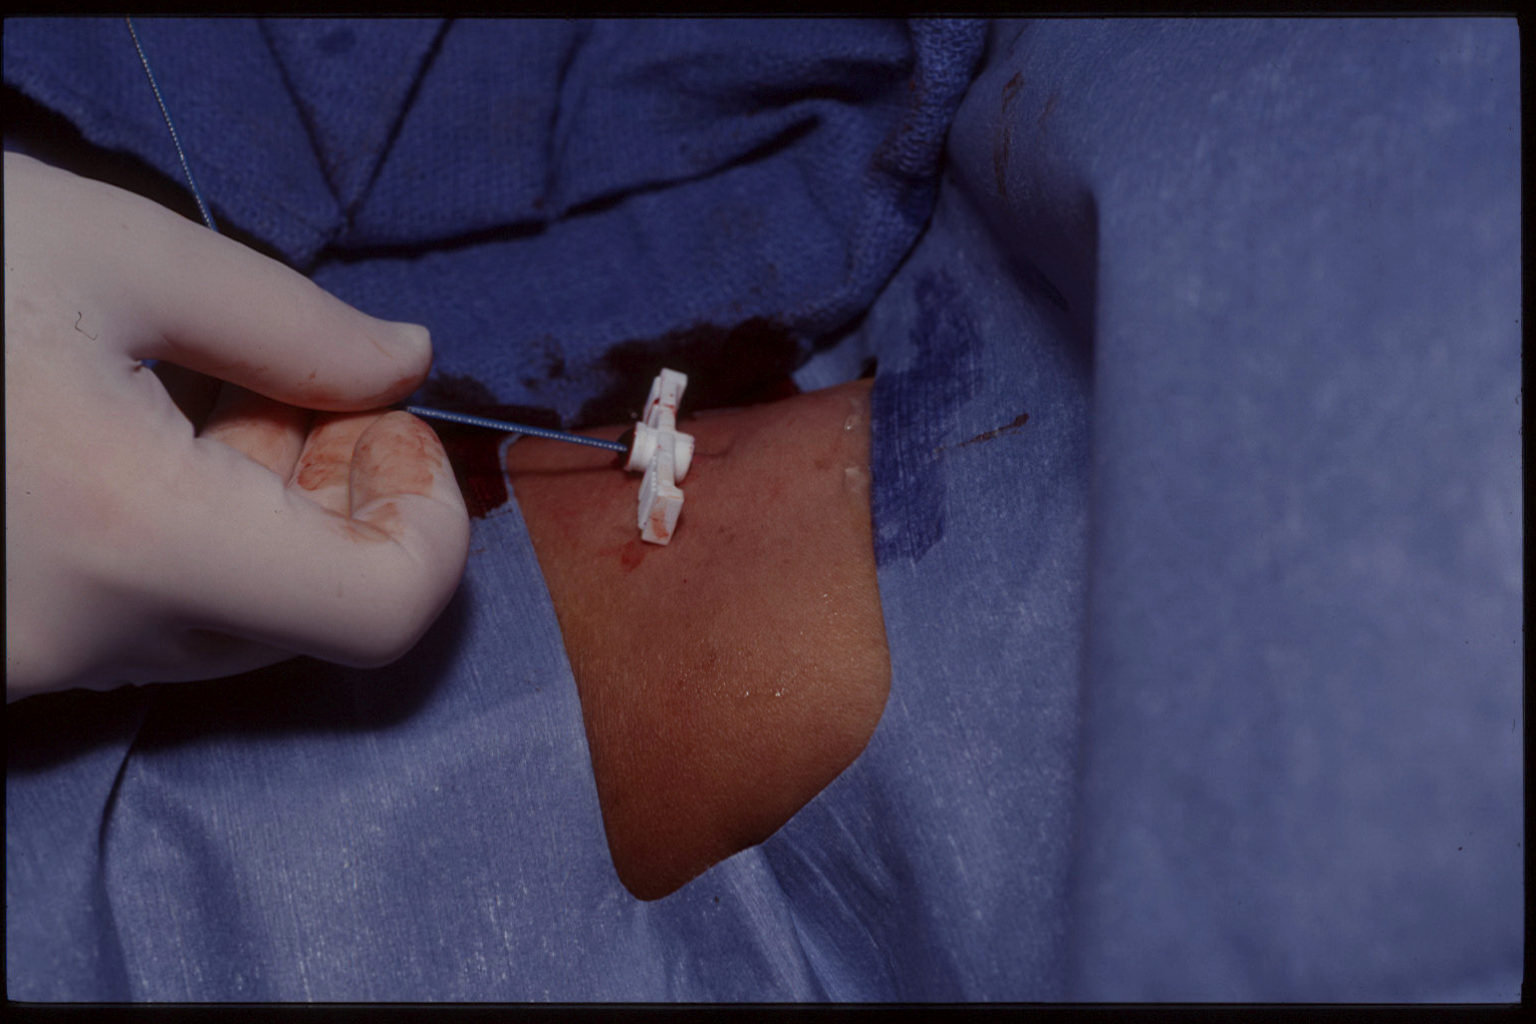
 图片附件: viewfile(7).jpg (2009-7-13 14:59:17, 197.25 KB) / 下载次数 0
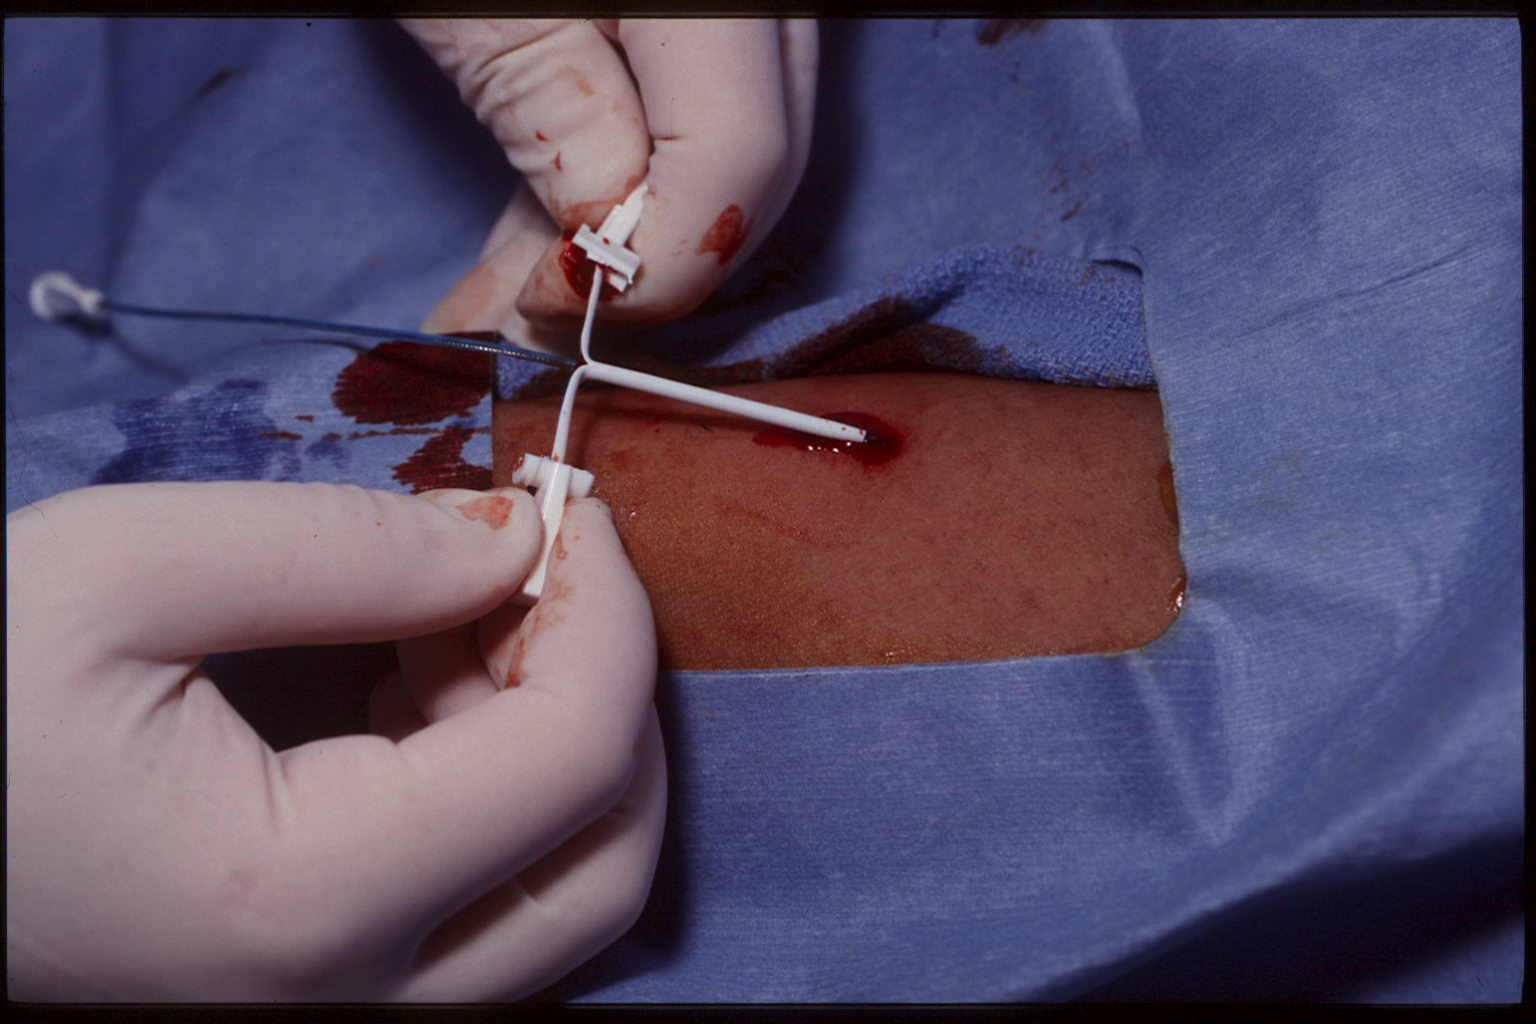
 图片附件: viewfile(8).jpg (2009-7-13 14:59:17, 57.53 KB) / 下载次数 0
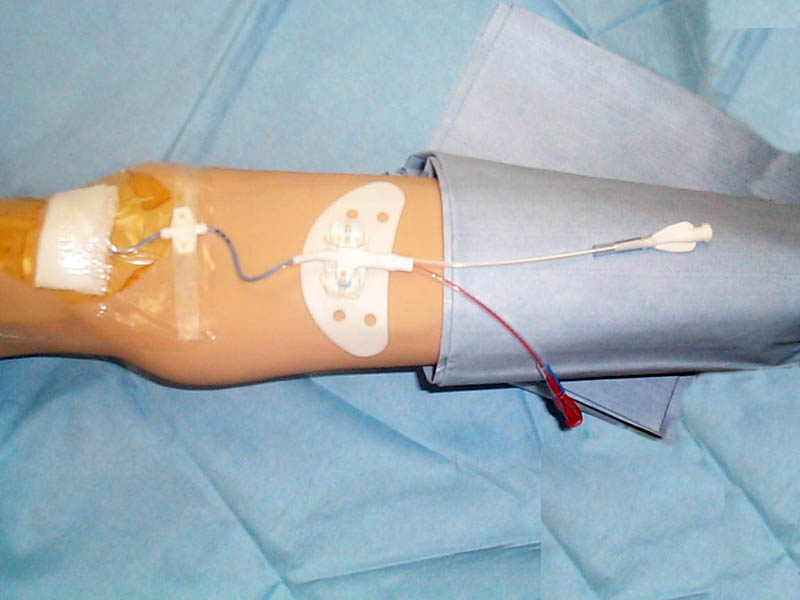
 图片附件: viewfile.jpg (2009-7-13 14:59:17, 224.33 KB) / 下载次数 1


 不明白
不明白

 英文的 看不明白
| 欢迎光临 护士论坛_护士网_护理论坛_512华护士论坛_国际护士论坛_卫生人才网 (http://512test.com/bbs/) | Powered by Discuz! X2 |